In this post, I'll show how to make a field editor that will let you have any kind of syntax highlighted code in a long text field, as well as taking a look at command line interface (CLI) and Github distribution.

Looking to extend contentful?
We're experts in building integrations and extending CMS systems and we'd love to help!
Reach out!This is the second post in the series based on a presentation I gave at a recent Contentful meetup on how to create UI Extensions. Read the first one here. In the first post, we had a look at the different kinds of UI extensions - and how you can create a field extension that changes the apperance of a field to a color editor. Now, we'll examine another example of a field extension - that takes it one step further...
Example: Code Editor
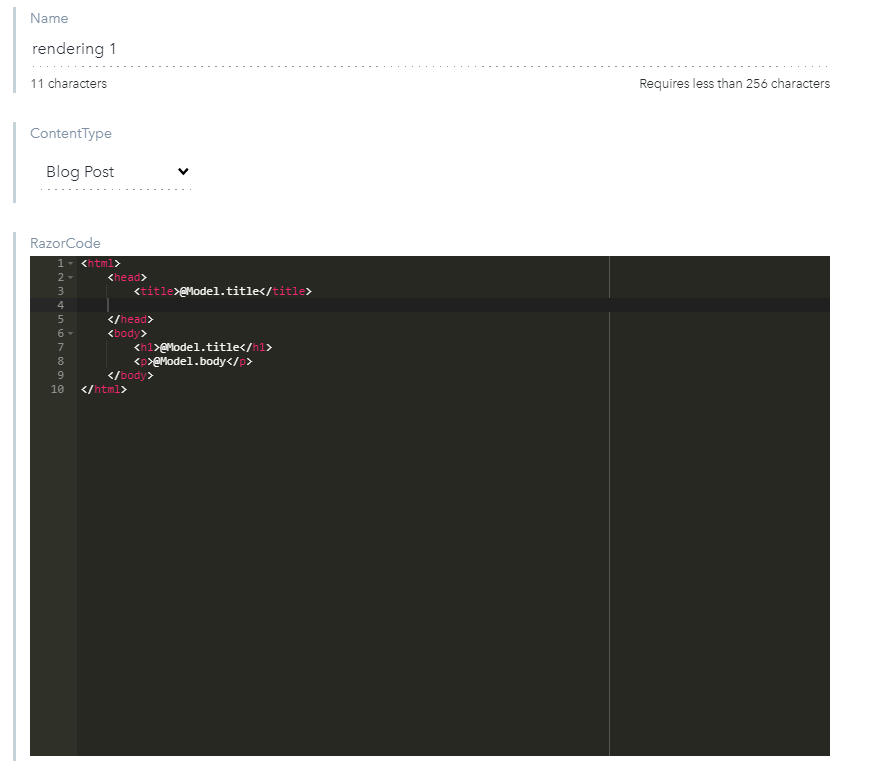
When I first started playing around with Contentful, I - as many others - quickly started to think: This is a nice way to work with content, but how do I manage the content delivery to my web channel? Obviously there are many approaches to this (and I'll probably go through some + a few new ideas in a future post) - but one of my thoughts was that it would be kind of cool if I could manage even the code/templating aspect of web delivery, directly inside Contentful - as Content. This includes both Css, Javascript and something that can help generate the Html - and my choice of weapon is typically Razor. Having code as content is something I have experimented with in the past - and even though it's not always as nice to work in a Browser as in a full-blown IDE, it does seem pretty practical for rapid prototyping.
In order to make the experience even smoother I decided to incorporate a UI extension that would give me a syntax highlighted code editor in my browser, which is the example I'm about to show.
After achieving this I was obviously incredibly proud - a feeling that lasted a few days until I accidentally noticed that there was already a pretty identical example in the official UI Extensions Samples repository that I hadn't bothered to look through first :-)
But anyway, here is the code I used - it's far from perfect, but it does give an impression of what I'm trying to achieve:
<!DOCTYPE html>
<html>
  <head>
<script src="https://unpkg.com/contentful-ui-extensions-sdk@3"></script>

<!-- Load the ACE code editor -->
<script src="https://cdnjs.cloudflare.com/ajax/libs/ace/1.4.3/ace.js"></script>
    <style type="text/css" media="screen">
    #editor {
        position: absolute;
        top: 0;
        right: 0;
        bottom: 0;
        left: 0;
    }
</style>
</head>
<body>
<div id="editor"></div>
<script>
window.contentfulExtension.init(function(api) {
  //Get the current field value
  var val=api.field.getValue();

  //Initialize the editor
  var editor = ace.edit("editor");

  //Set editor theme
  editor.setTheme("ace/theme/monokai");

  //Set which mode the editor should be in (razor, csharp, css, html, javascript, ...)
  //This fetched from an instance parameter
  editor.session.setMode("ace/mode/"+api.parameters.instance.mode);

  //If the value is defined, set it.
  if(val!=undefined)  editor.setValue(val,-1);

  //When the editor leaves the field, update the value
  editor.on("blur", function(){   api.field.setValue(editor.getValue());    });

  //Ensure proper height in our window
  api.window.updateHeight(500);
});
</script>
</body>
</html>
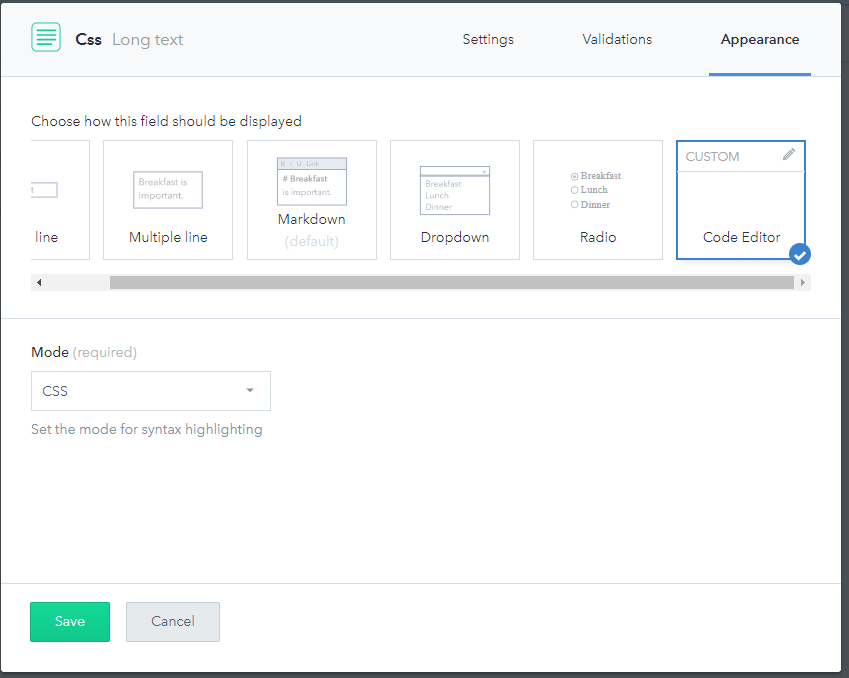
As you can see in the code and the comments, one key new thing is that we are retrieving the 'Mode' for the code editor from an Instance Parameter. Instance parameters are parameters set on the specific instance of the UI Extension, when used on a content type. In this case I have defined a Mode and it shows as a Dropdown list when the Code Editor is selected as the Apperance for a long text.

To achieve this, we have to not only create the HTML file for the extension, but also a Json manifest / definition for the UI Extension. You can see it here:
{
  "id": "4esx4JW2CYsu14ePjk21IP",
  "name": "Code Editor",
  "srcdoc": "codeeditor.html",
  "fieldTypes": ["Text"],
  "parameters": {
    "instance": [
{       "id": "mode",
        "name": "Mode",
        "description": "Set the mode for syntax highlighting",
        "type": "Enum",
        "options": [{"javascript": "Javascript"}, {"csharp": "csharp"}, {"html": "HTML"}, {"css":"CSS"},{"razor":"Razor"},{"xml":"XML"},{"json":"JSON"}],
        "labels": {"empty": "Choose the display mode"},
        "required": true}
    ]
  }
}
Notice how I define the instance parameter and provide options for the drop down in the json definition.
Command line interface
This does however spark a new issue - you can't edit the definition json through the web interface. So instead you have to use the CLI.
For those accustomed to NodeJS and NPM, this is business as usual. For others, like me, that is more Visual Studio/.NET / Nuget oriented it's still fairly easy.
First, to get setup with the CLI in the first place, follow these steps here: https://github.com/contentful/contentful-cli
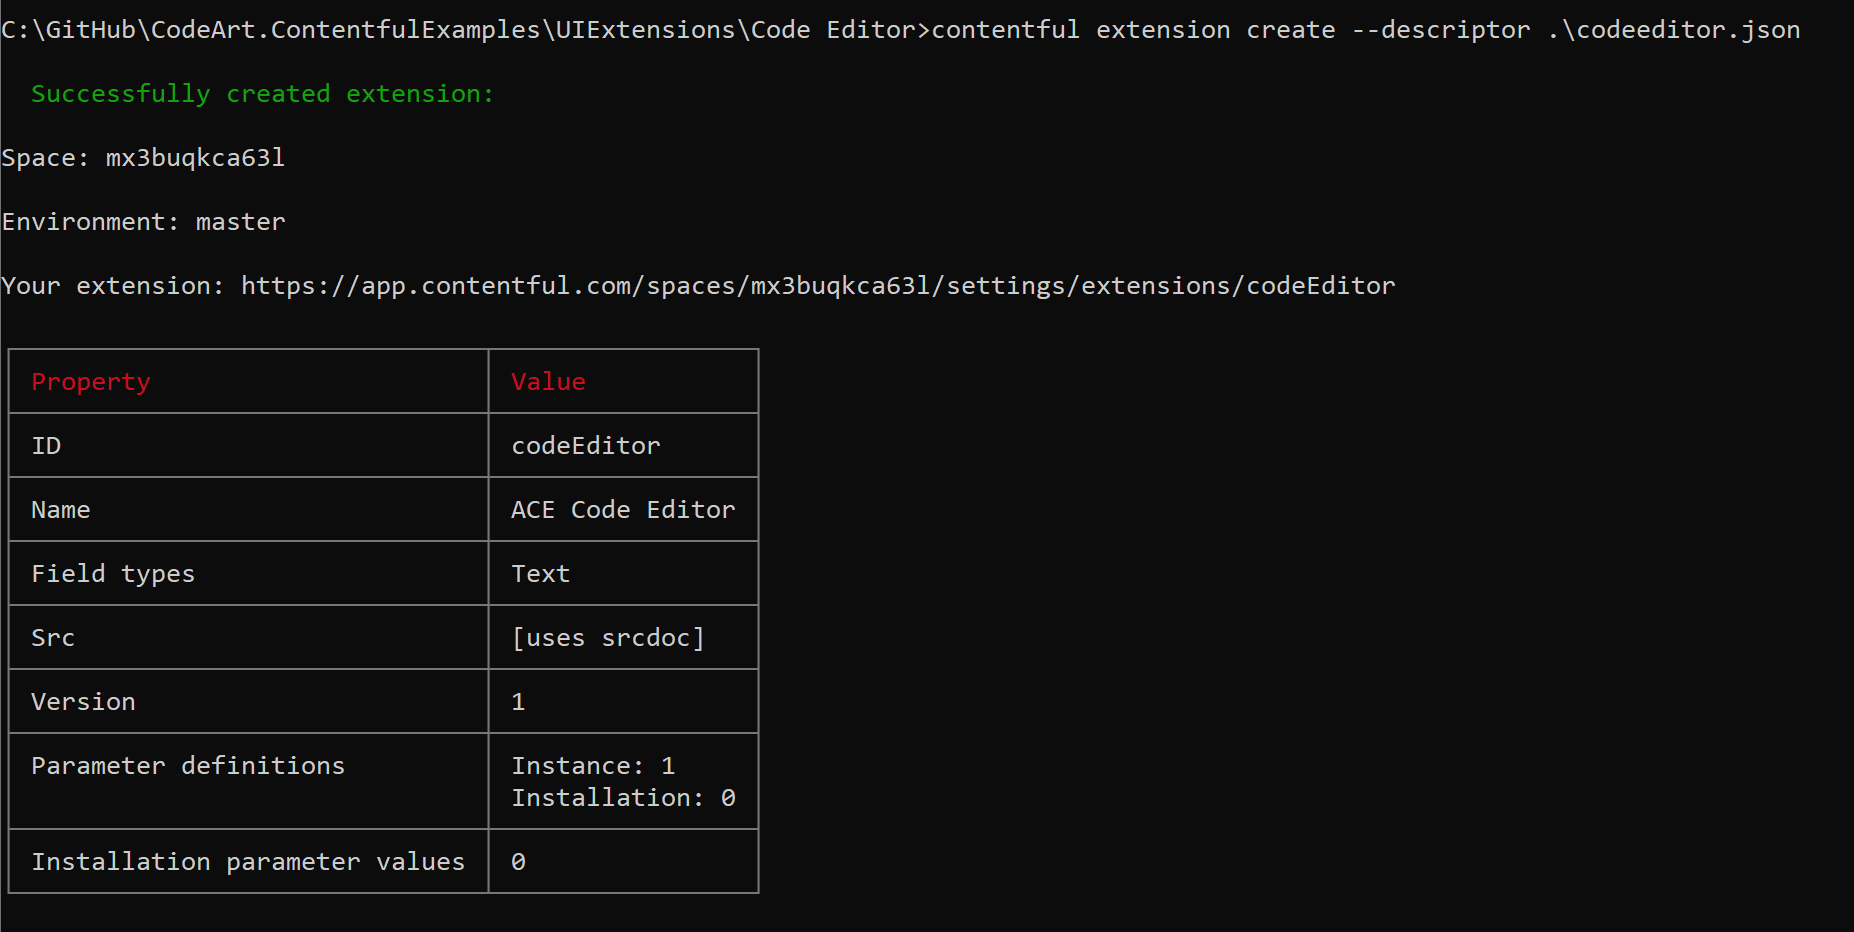
Then, after everything is installed, you'll want to log in, using the command "contentful login" and select a space ("contentful space" command) after which you for instance can have a look at which extensions are installed, calling "contentful extension list" as I've done here.

You can see the details of the 'extension' command here: https://github.com/contentful/contentful-cli/tree/master/docs/extension.
So, once your CLI is ready, you can basically send a local extension to your space by calling "contentful extension create --descriptor .\codeeditor.json", or - if it already exists in your space update it using "contentful extension update ...".
You can also use the "--src" option to provide a url for a selfhosted extension.

After running this command our extension is available in our space - ready for use, including the custom parameters!
Using Github to distribute extensions
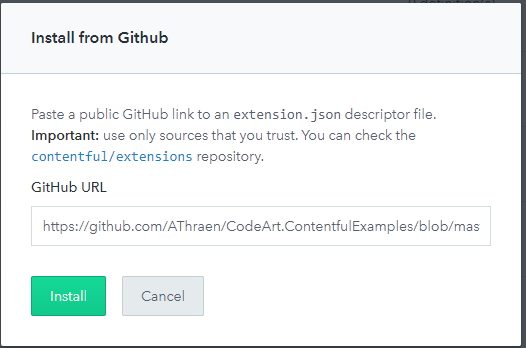
If you want to quickly make your extension available to the masses, you can put your extension files in a public GitHub repository. In this case it's important that the definition json file is called "extension.json" as there is a validation check for that. Then, all that's needed to install it is for someone to select "Install from Github" when they add a new extension.

Followed by providing the Url to the specific definition file. In this case I've checked the Code Editor into this repository: https://github.com/AThraen/CodeArt.ContentfulExamples/blob/master/UIExtensions/Code%20Editor/extension.json

Once the extension has been successfully installed we can go to our Content Modelling, add a new (long) text field and select it under "Appereances". Remember to select the mode as well!

That's it for this time. In the next post in this series we'll take a look at sidebar & dialog extensions and just how much power is available in the javascript SDK.

